Estimated reading time: up to 4 minutes
New supplier account verification
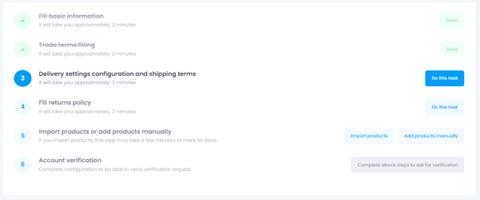
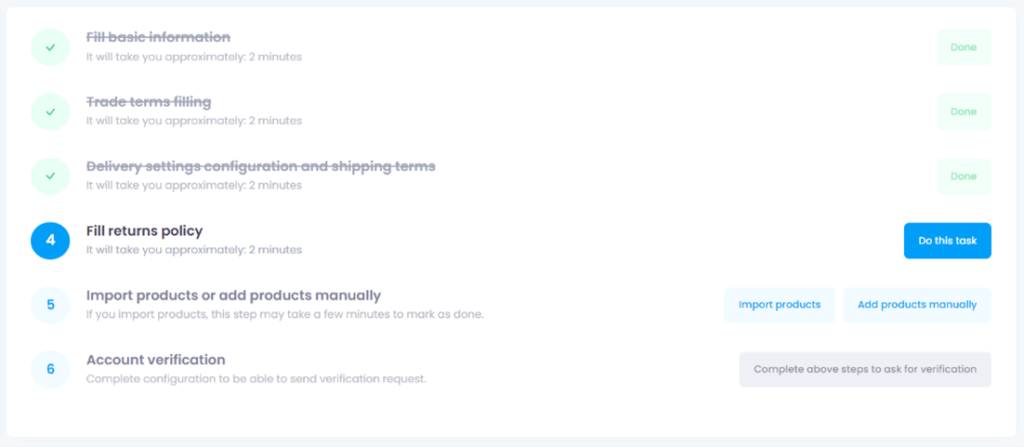
After completing the registration form and accessing the Droplo dashboard, you will be asked to follow 6 steps to finalize the verification of the account:
- Basic information
- Terms of trade
- Shipments configuration and terms
- Returns terms
- Add product
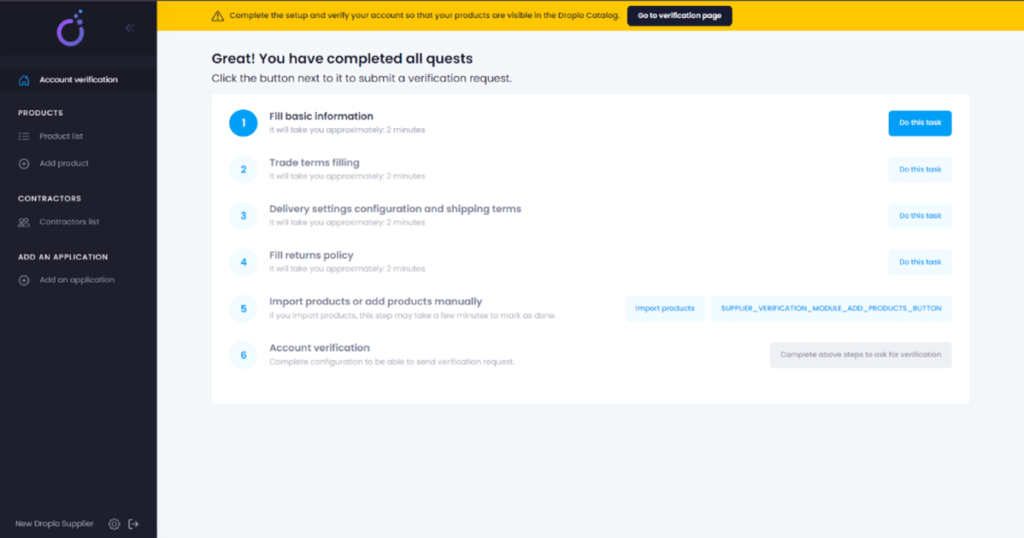
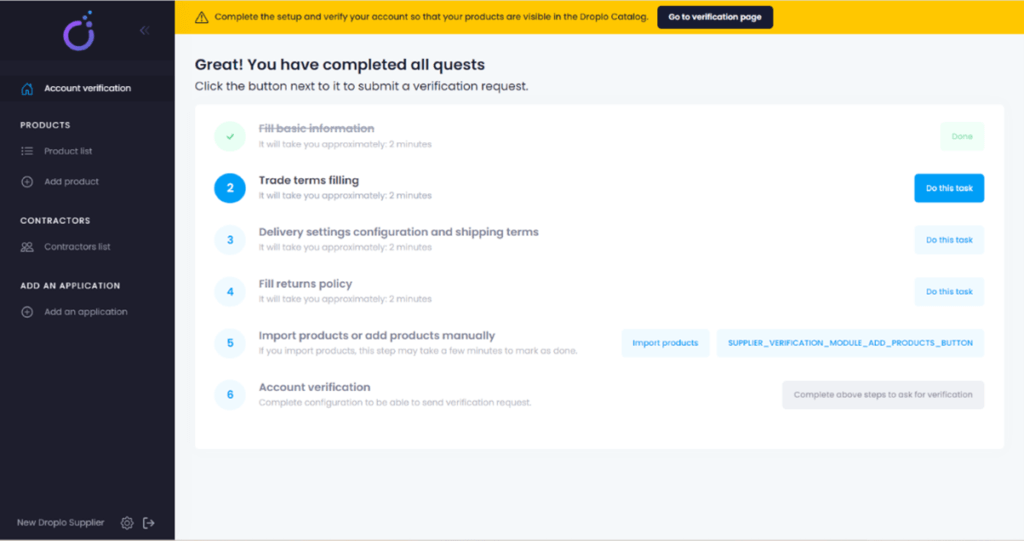
First step requires supplementing basic information about your company:
- logo
- tax code
- brand name
- contact information,
- choosing category of products
- business description
- location of your warehouse
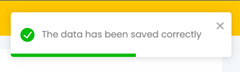
Fill in all needed information and click on “Save” button below. You should see a confirmation in the upper right corner.
Next, you need to supplement the terms of trade. In this window, you can use the terms offered by Droplo (1) or add your own terms by adding a new field in “Additional terms” section (2). Please remember to click on “Save” button below (3).
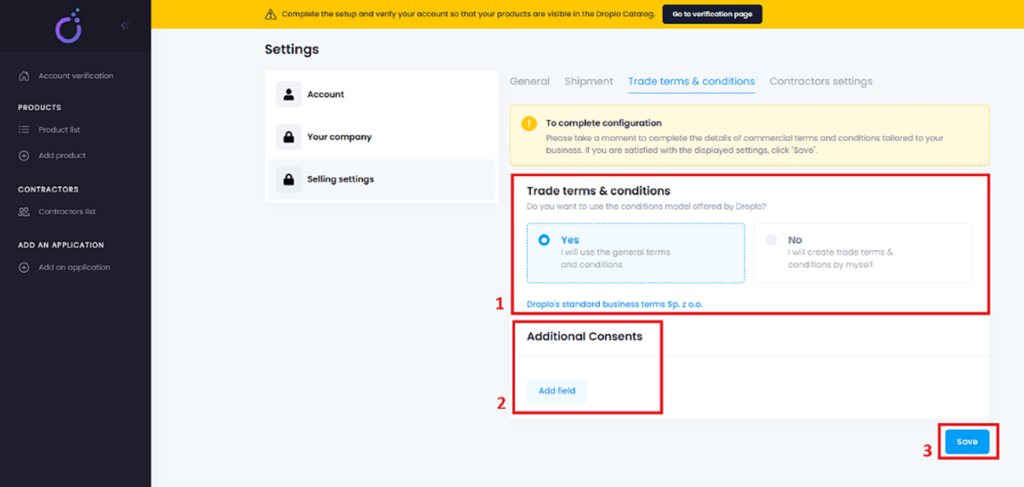
You should see another confirmation in the upper right corner.
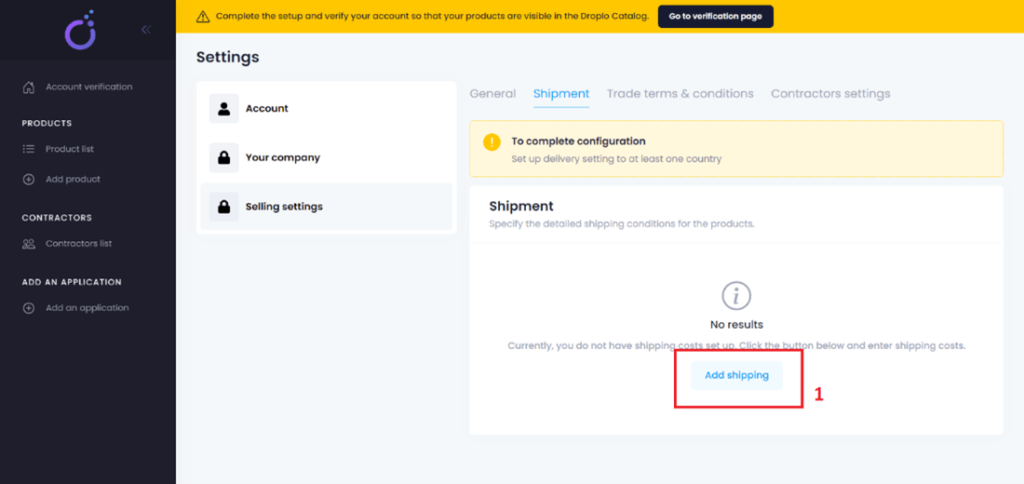
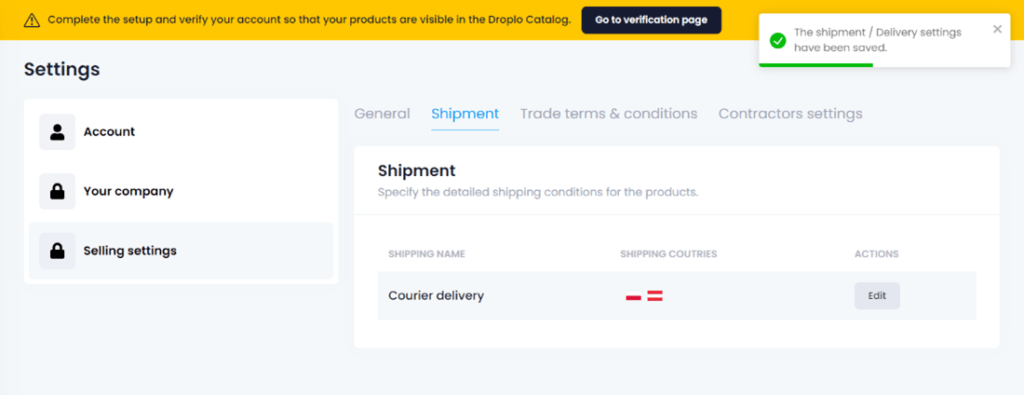
 The third step takes you to supplementing the terms of deliveries.
At first, you need to click on the “Add shipping” button (1).
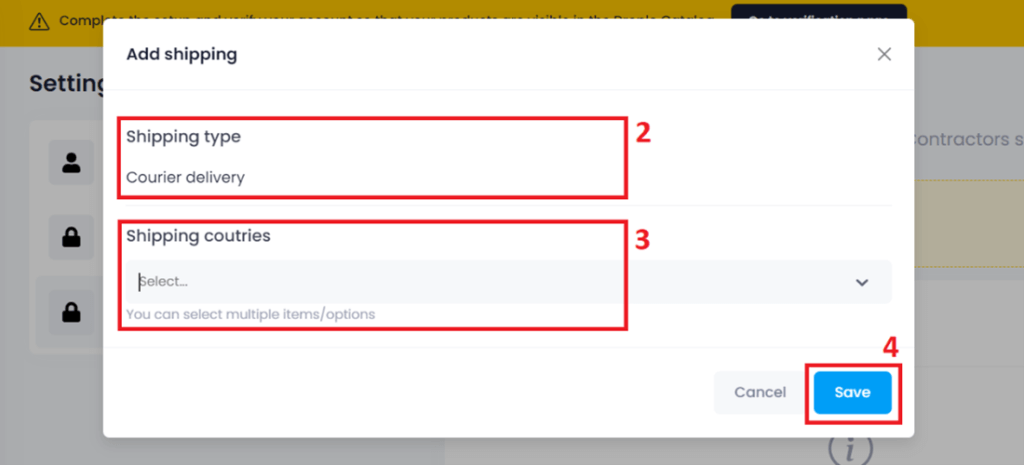
In the pop-up window, we will be asked to choose the type of deliveries (2) and destination countries (3).
You can choose any available country from the drop-down list. Then click save (4).
In the next move, you will be transferred to complete the form concerning the returns terms and conditions.
You can also pick a main currency from the drop-down list (1) and declare if your company sells via Dropshipping model (2) or if you accept the returns from the retailers (3).
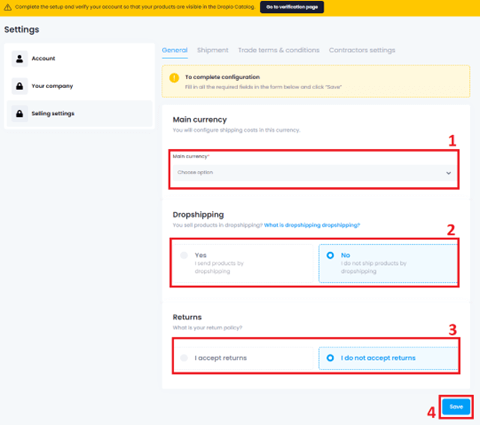
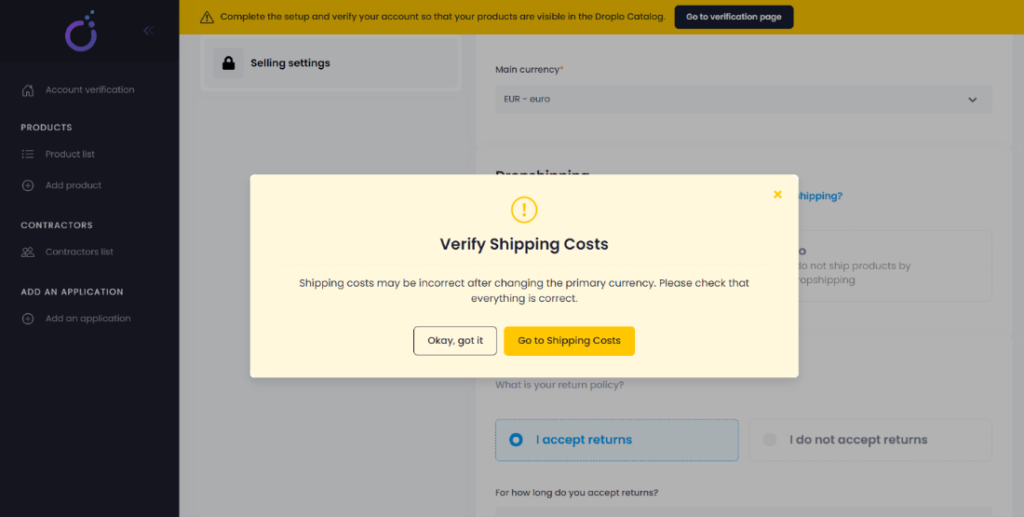
When you click on save button (4), a new window will appear asking you to verify shipping costs.
It is important to double-check this part before proceeding further, as the previous amounts may change after changing the base currency.
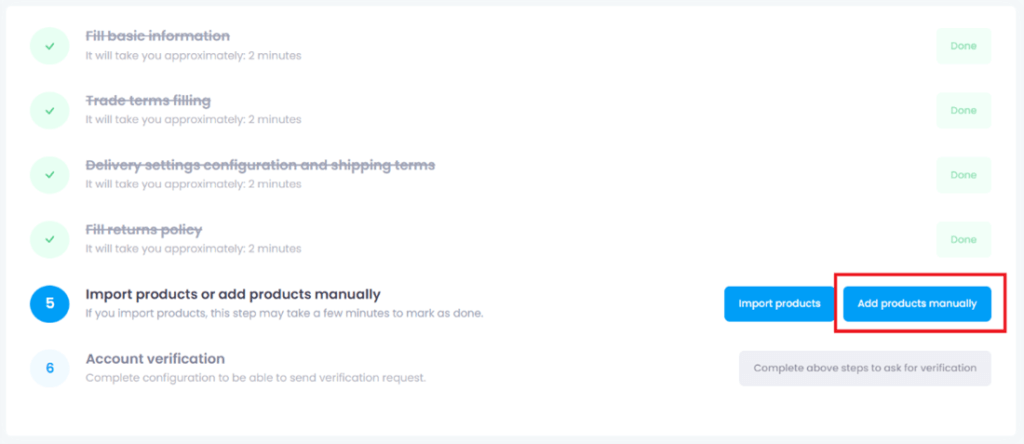
The fifth step allows you to add your first product manually or import products from the XML file. In this instruction, we will show both possibilities.
- Add your product manually.
On the verification page, use the adequate button to proceed.
New product card will now open. You can place here full product description. This page is divided into 7 smaller sections (fields) which helps to navigate:
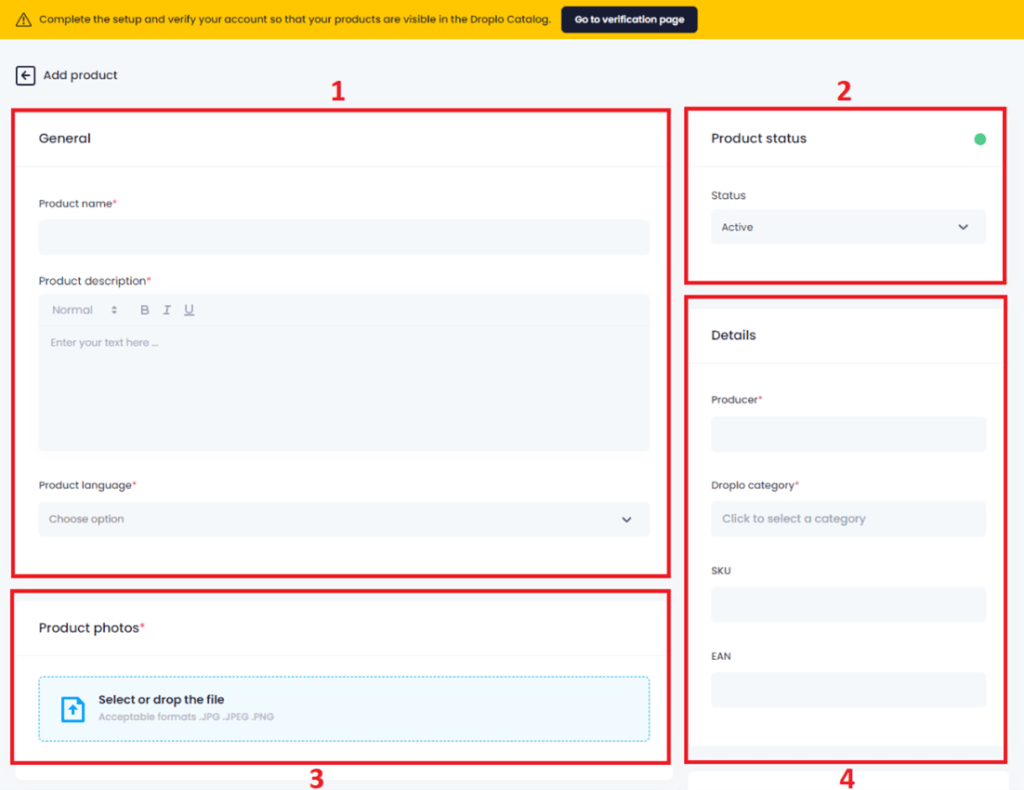
- General (1) – product name, description of the product, product language
- Product status (2) – active/inactive
- Product photo (3) – image upload tool (accepted formats: JPG, JPEG, PNG)
- Details (4) – manufacturer, Droplo category, SKU, EAN
- Price (5) – currency, net and gross price, tax
- Shipment (6) – type of sells (per piece or collective packaging), stock, logistic minimum, weight, time for the order realisation
- Dimensions (7) – height, width, length
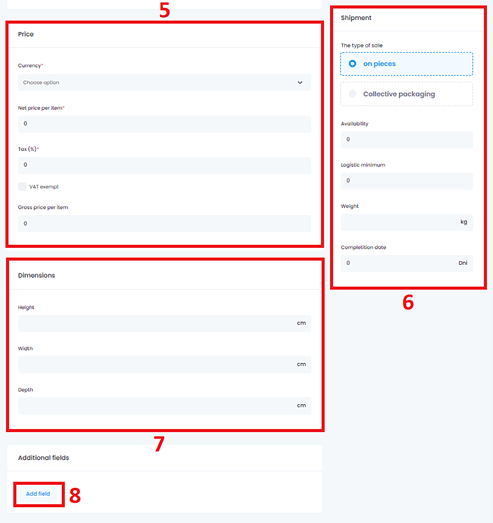
You can add more sections to your product by using the “Add field” (8) button below the product configuration page.
When you decide to use the additional data fields, you will be asked to determine the name (1) and value (2) for the new product characteristics.
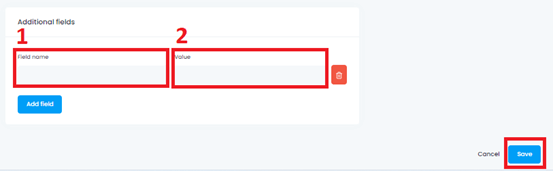
At the end, save your changes and go to the last (6th) step.
- Import XML offer file.
In order to import your XML formatted offer, use the appropriate button.
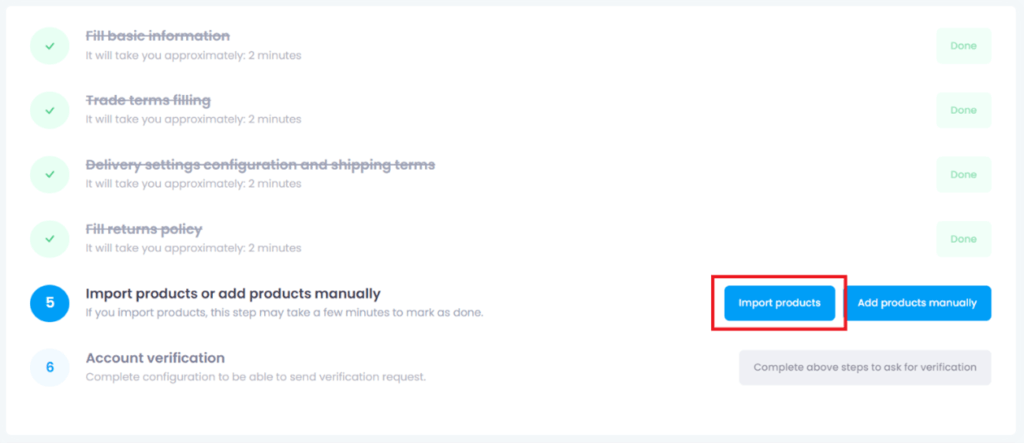
You should now see a new window. Use the “Import products” button.

Here there are 5 steps to follow. Now, name your offer (1) and place the URL address redirecting to the XML file (2).
Then set how often it should be synchronized with Droplo (3) and at what time should the synchronization start (4).
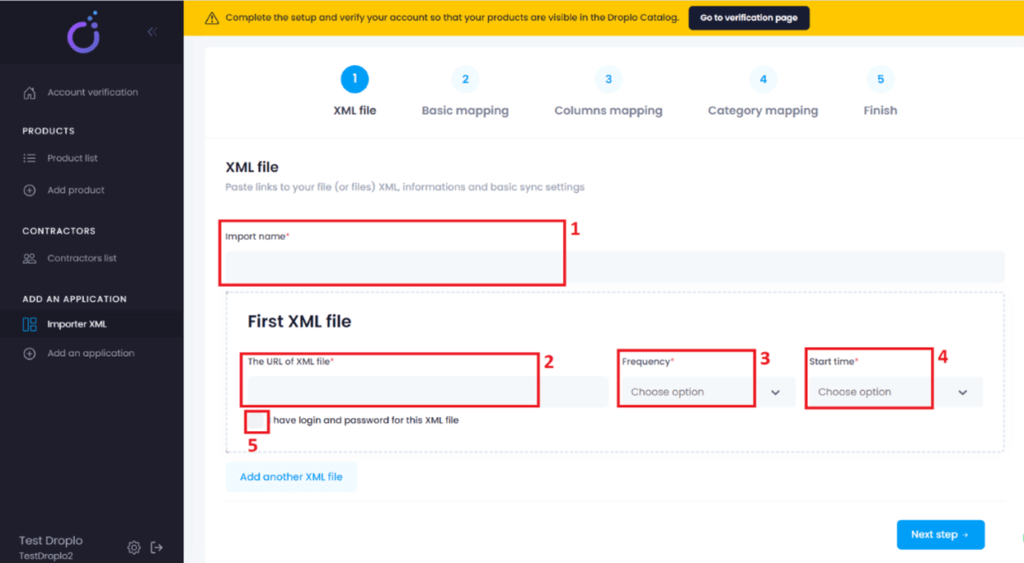
If your offer file is protected by a login and password, mark this option below (5). Two new fields will appear.
Insert authorization data and click on “Next step” button.
Second step stands for “Basic mapping”. Select the primary tag (1) for the product parameters, and in the ID field (2), select a phrase containing the phrase “id”.
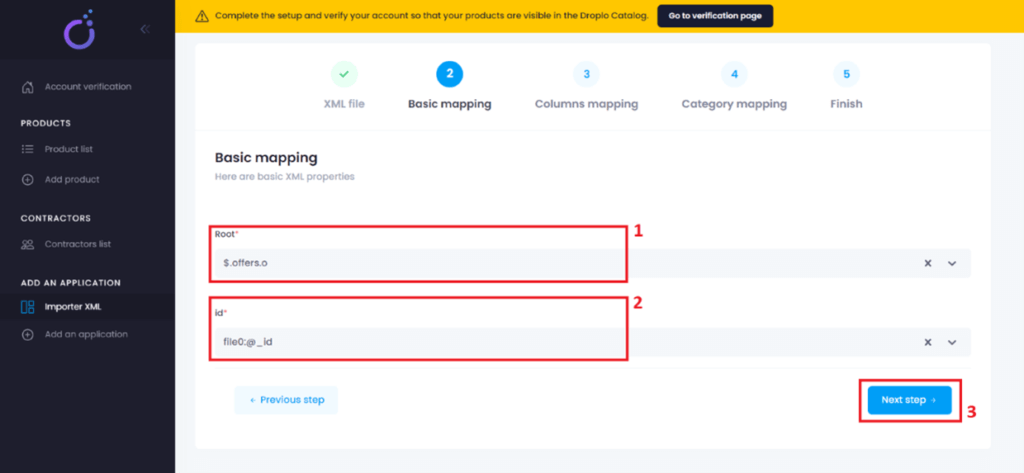
When you set the basic mapping, you can proceed to the next step with columns mapping (3).
In this place, on the right side, you can see how your products parameters will be displayed in Droplo.
On the left side there is a configuration panel for columns mapping.
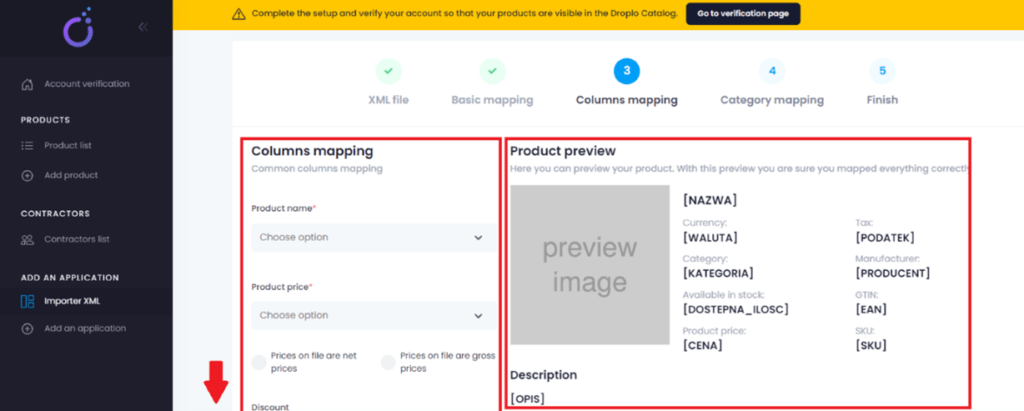
Let’s match values from the file corresponding to each field in the form. Firstly, find the parameters correlate with product name and price. Here, you can choose if the prices in the XML file are net or gross.

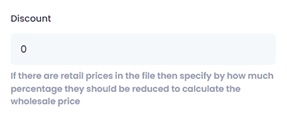
Below there is a Discount field, which can be used to reduce retail prices with a certain percentage
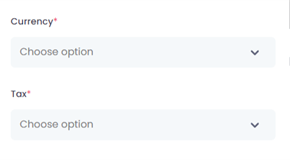
Next, select the currency and value-added tax for prices that will be imported from the XML file.
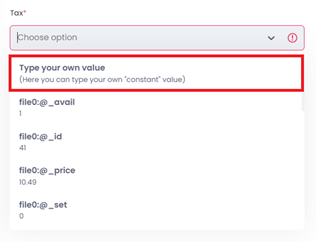
If you don’t have a tax value for your products in the XML file, you can insert a specific value by selecting “type your own value” on the drop-down list.
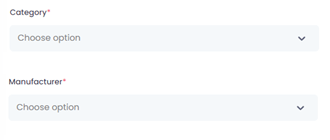
Complete the rest of required parameters (with a red dot next to the name):
- Category field
- Manufacturer field
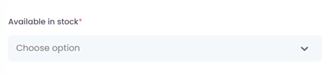
- Available in stock field
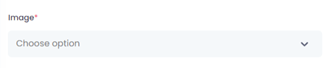
- Image field
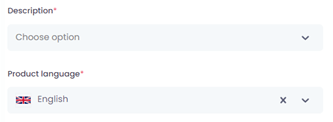
- Description field
- Product language field
When you finish, go to the bottom of the page. If your XML file has another parameters, which you want to publish, use the additional parameters section (1). You can add more than one additional parameter by using the blue button called “Add another parameter” (2).
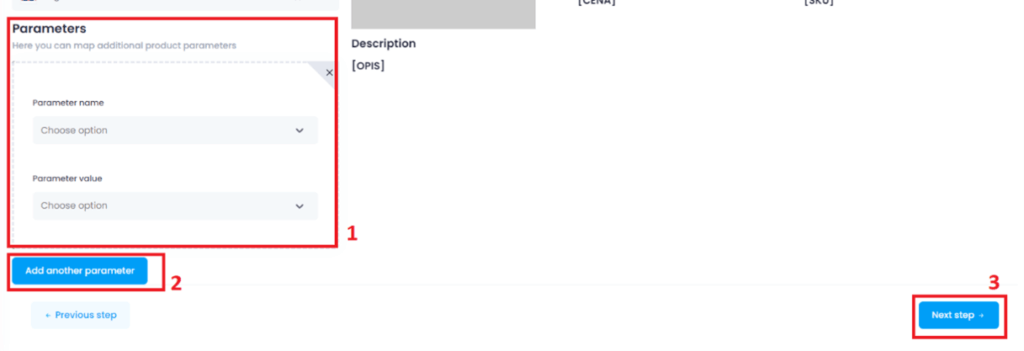
After successful column mapping, you will be able to go next (3).
In this last step, you need to send us a request for final verification.
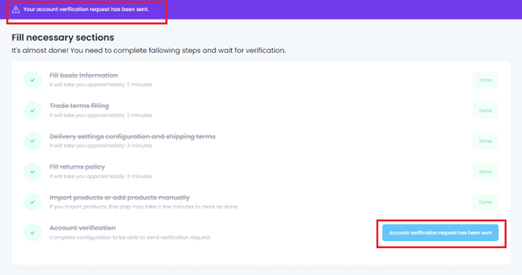
In Droplo we are pre-checking every new supplier who wants to join our platform. This verification is mandatory.
After completing this process, you will be granted full access to Droplo Supplier Panel and your products will be displayed in Droplo main products catalogue.


